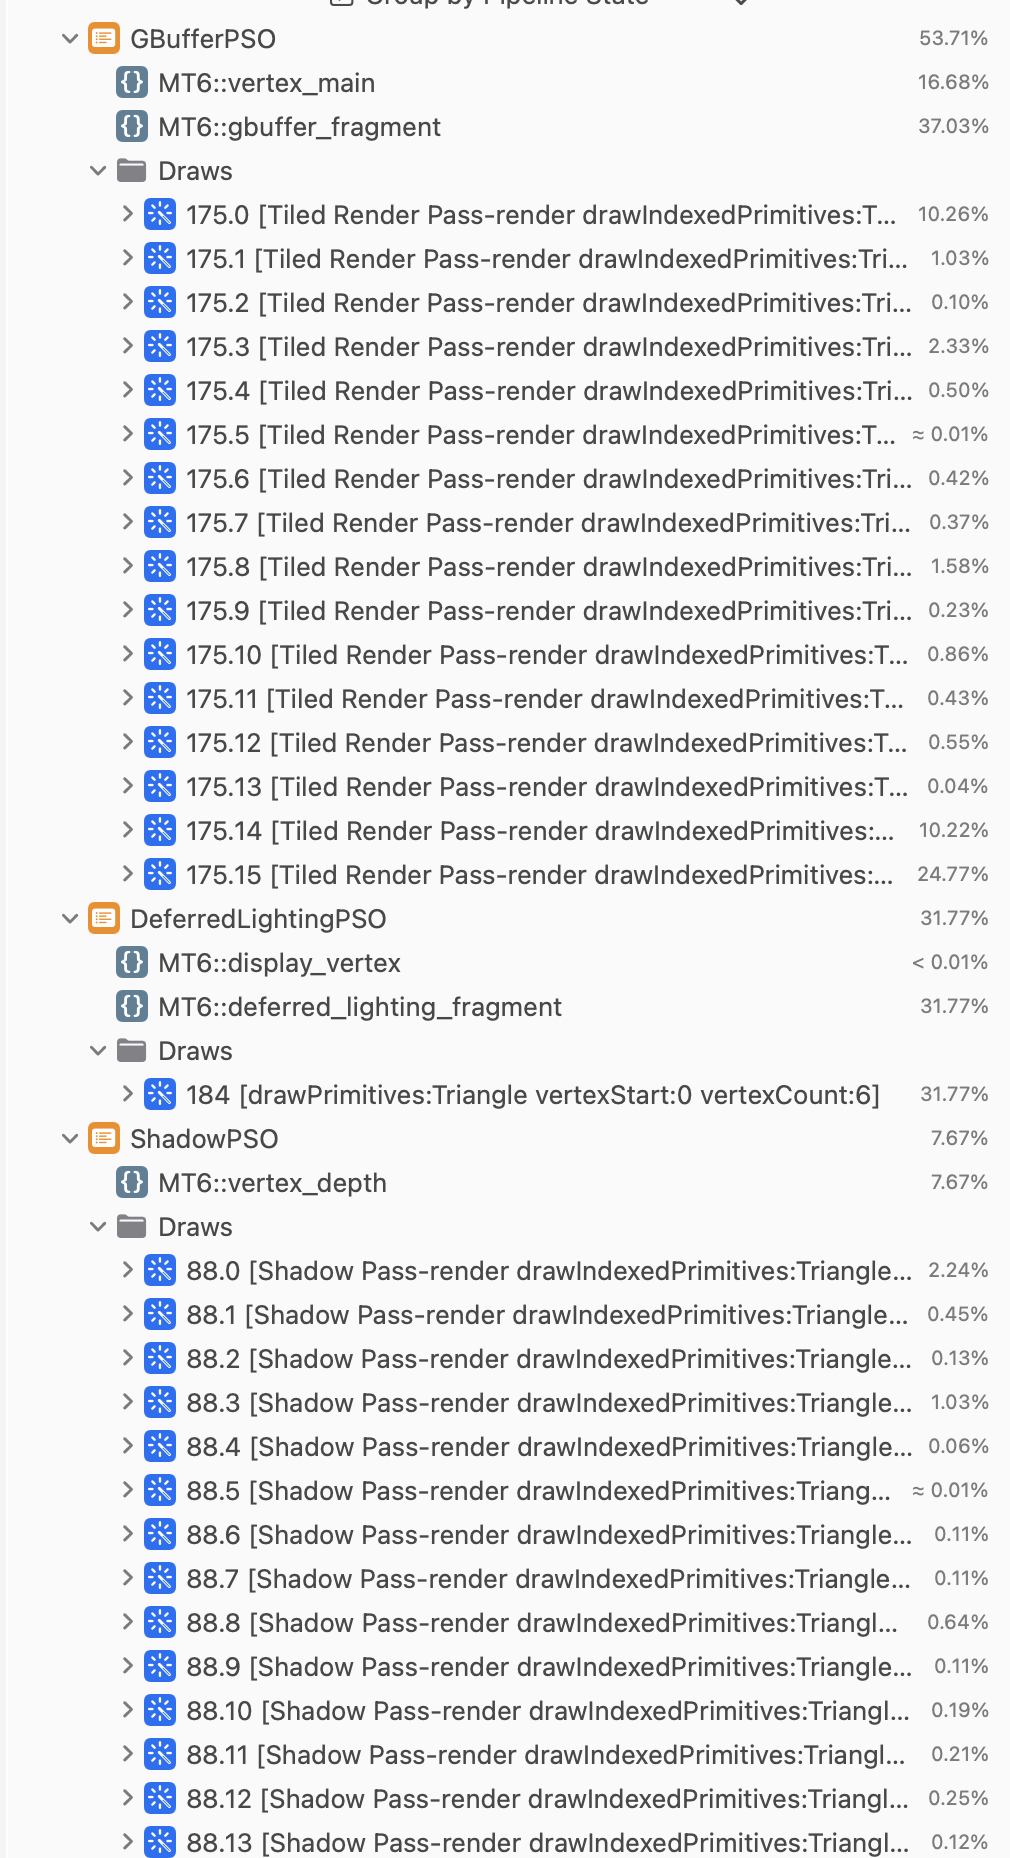
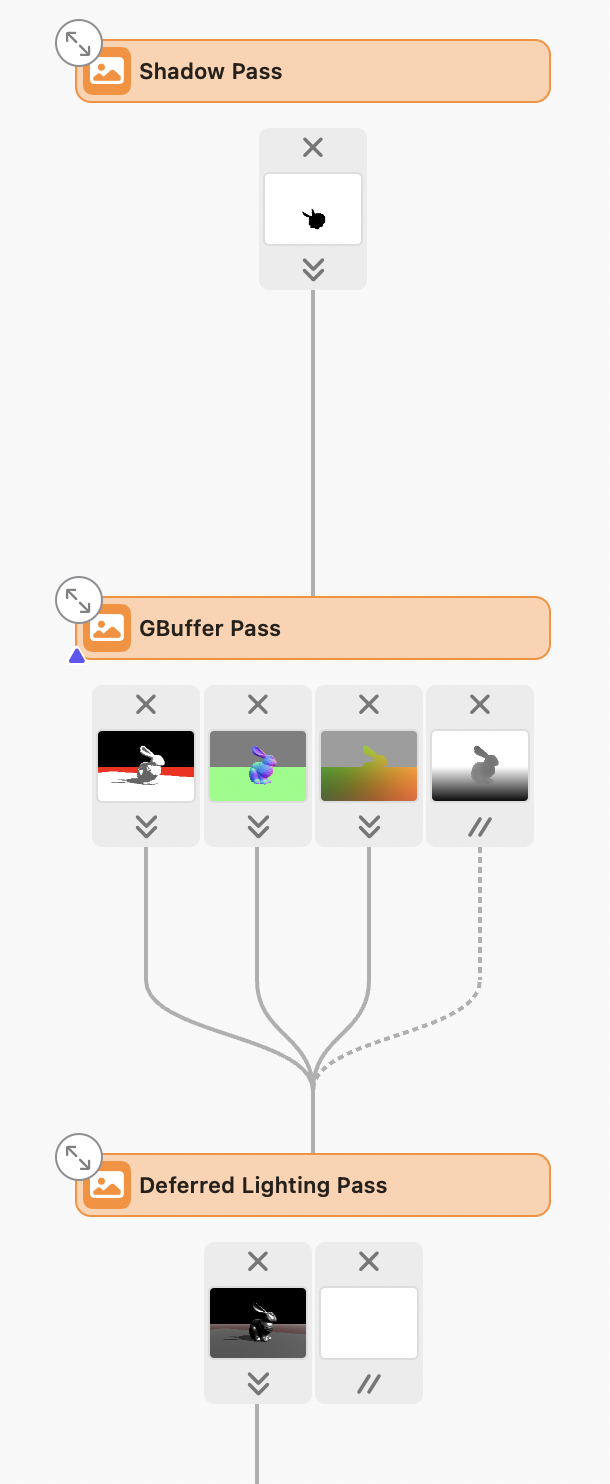
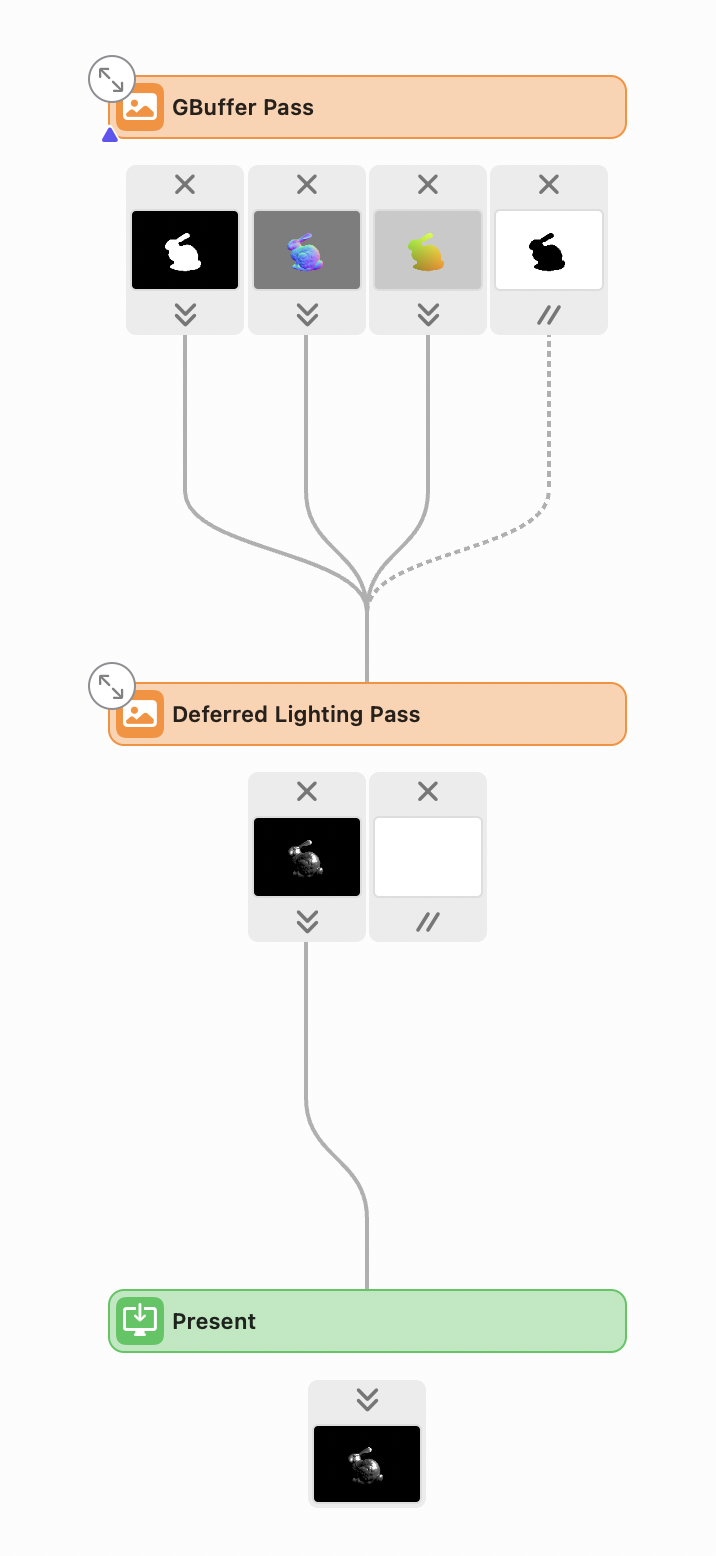
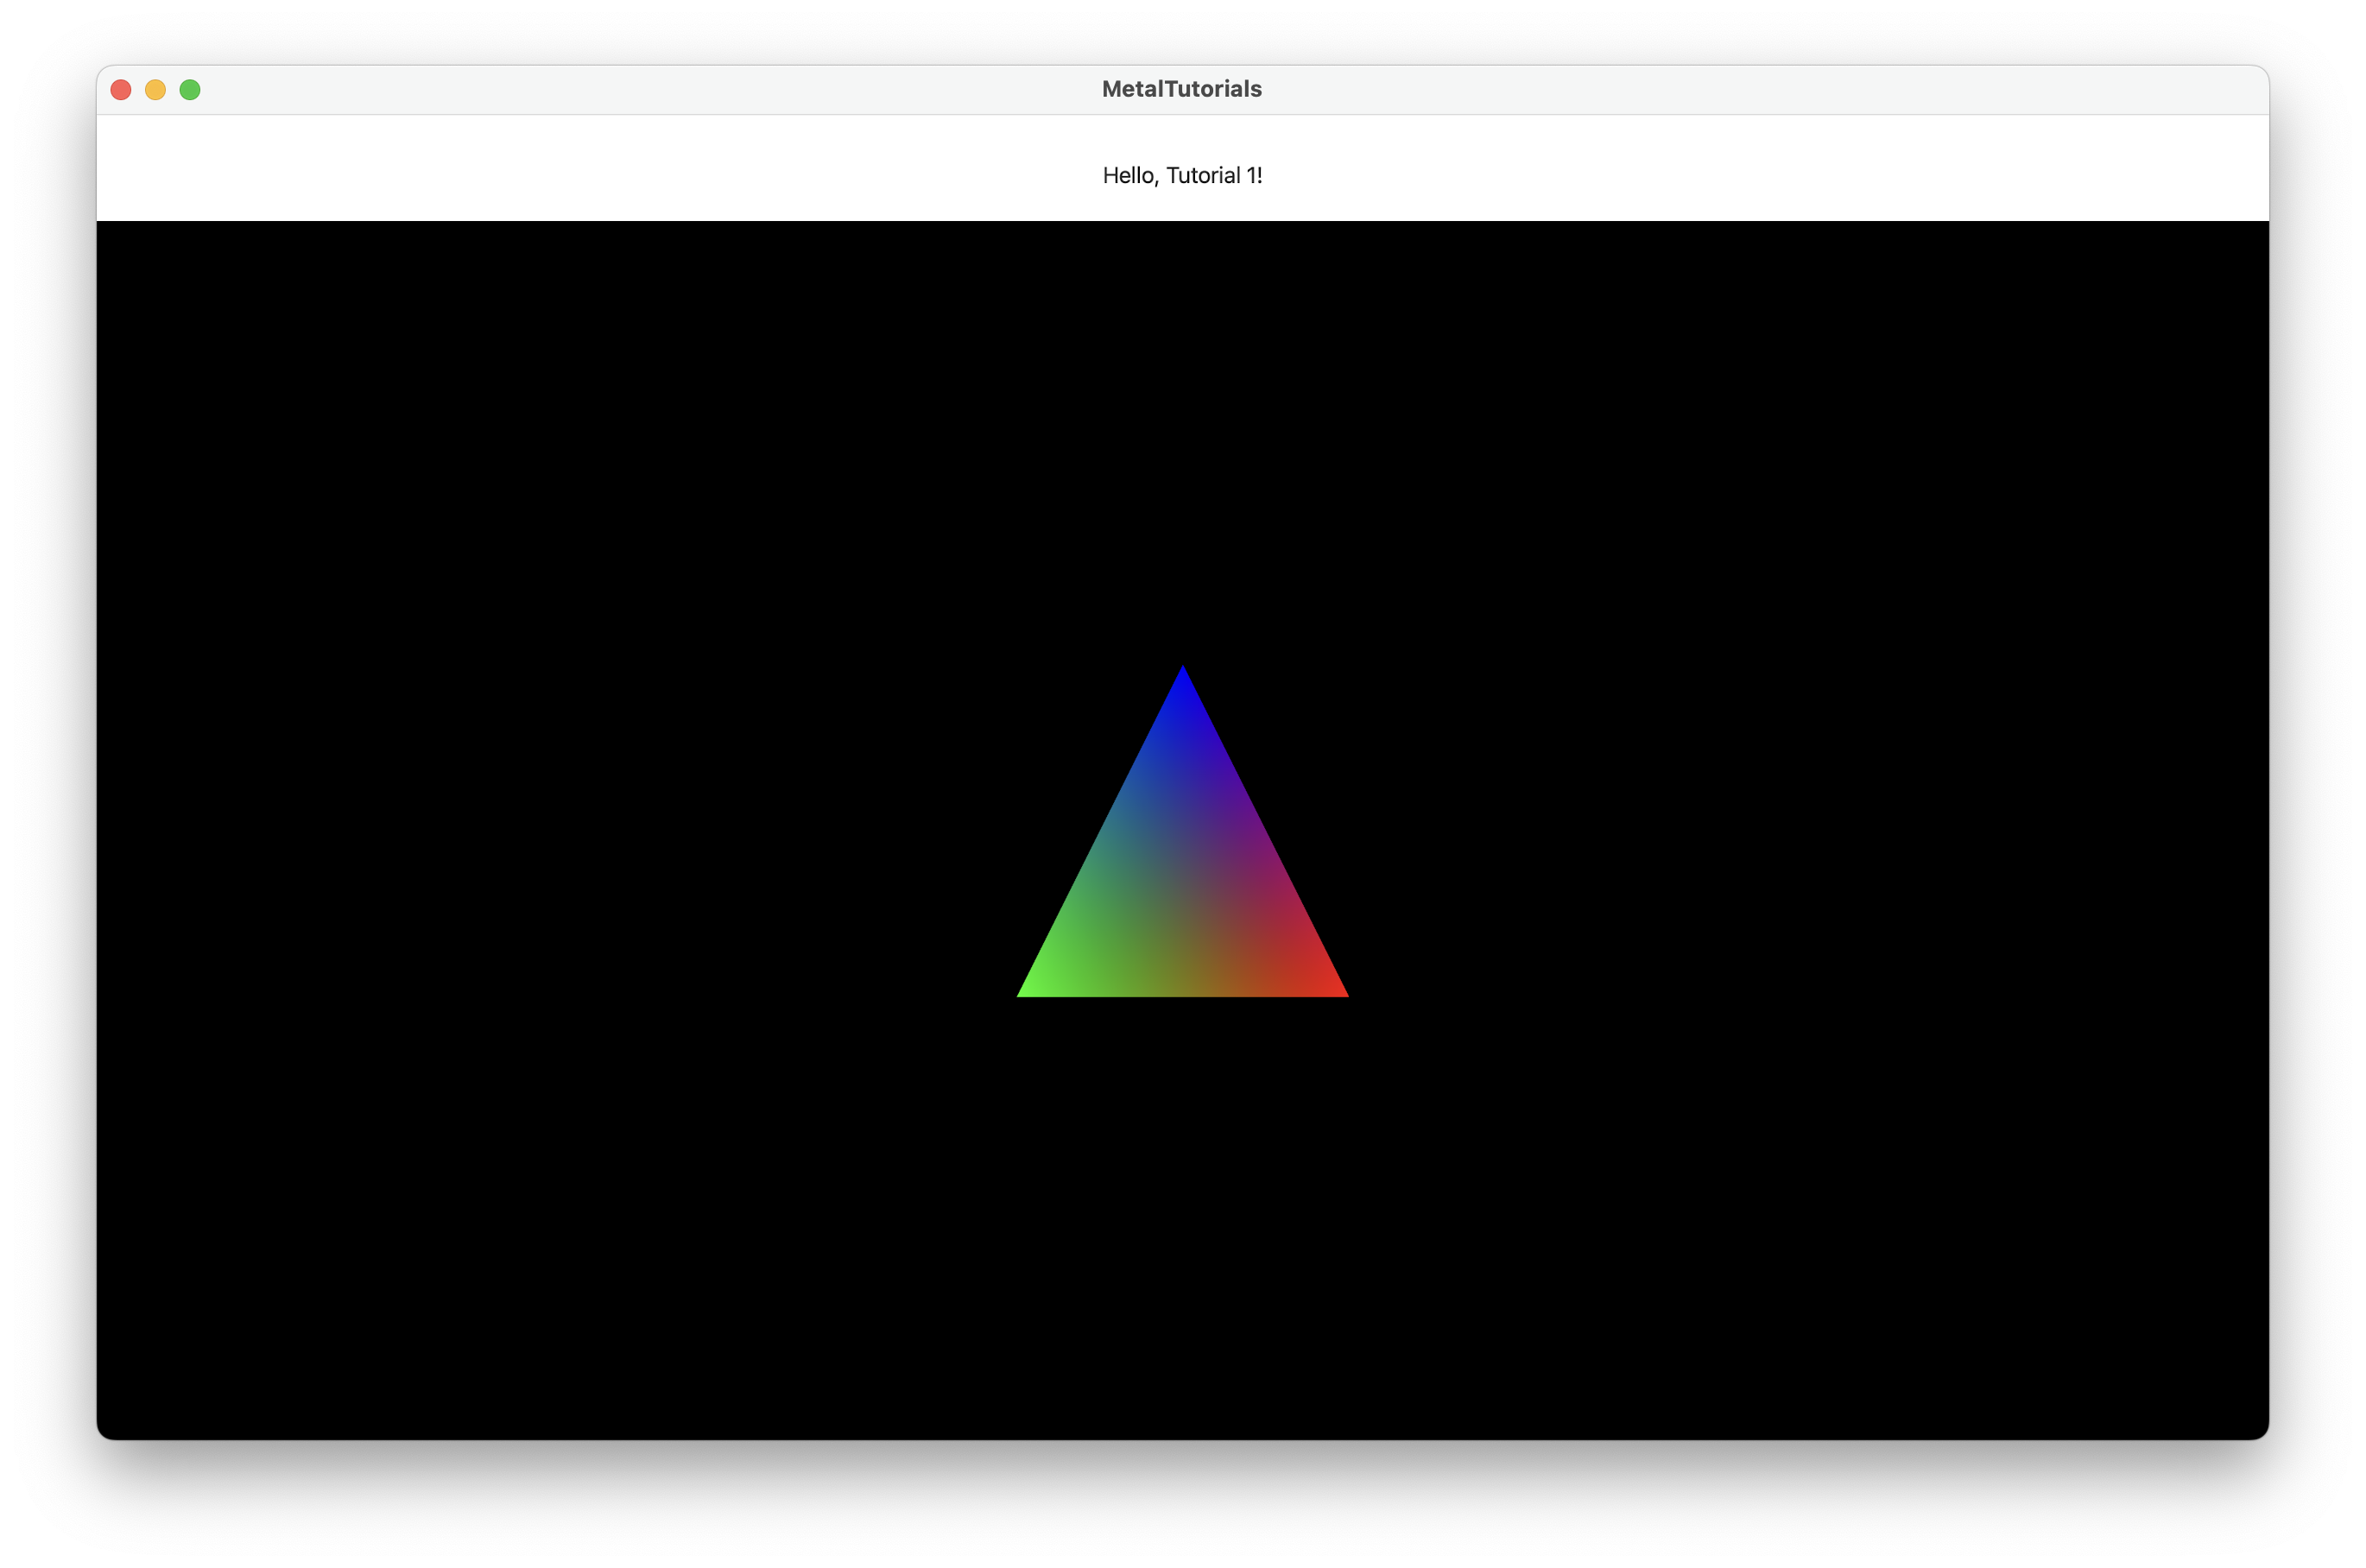
<?xml version="1.0" encoding="utf-8"?><feed xmlns="http://www.w3.org/2005/Atom" xml:lang="en"><generator uri="https://jekyllrb.com/" version="3.10.0">Jekyll</generator><link href="https://fe0437.github.io/feed.xml" rel="self" type="application/atom+xml" /><link href="https://fe0437.github.io/" rel="alternate" type="text/html" hreflang="en" /><updated>2026-07-28T07:52:21+00:00</updated><id>https://fe0437.github.io/feed.xml</id><title type="html">🌵 Federico Forti (fe0437)</title><subtitle>This is a personal blog where I&apos;m going to write long articles about my projects when I need more space and resources than a simple tweet. In particular, I will write about graphics programming real-time and offline, 2D and 3D. At the moment focusing on swift, metal and C++.</subtitle><entry><title type="html">Metal Tutorial 6 — GPU-Driven Rendering</title><link href="https://fe0437.github.io/metal/tutorial/swift/2024/06/04/metal-tutorial-6.html" rel="alternate" type="text/html" title="Metal Tutorial 6 — GPU-Driven Rendering" /><published>2024-06-04T23:00:00+00:00</published><updated>2024-06-04T23:00:00+00:00</updated><id>https://fe0437.github.io/metal/tutorial/swift/2024/06/04/metal-tutorial-6</id><content type="html" xml:base="https://fe0437.github.io/metal/tutorial/swift/2024/06/04/metal-tutorial-6.html"><![CDATA[<p>In every previous tutorial the CPU decides what to draw and when. This one removes the CPU from the render loop entirely. A compute shader reads the scene, culls what’s invisible, and writes draw commands directly into an <code class="language-plaintext highlighter-rouge">MTLIndirectCommandBuffer</code> — the GPU issues its own draw calls. This is the architecture behind modern game engines on Apple platforms.</p>

<video autoplay="" loop="" muted="" playsinline="" style="width:100%;border-radius:8px;margin:1.2rem 0;display:block">
  <source src="/assets/videos/metal-tutorials/6-tiled-rendering.webm" type="video/webm" />
</video>

<p><img src="/assets/images/metal-tutorials/6-gpu-rendering-pipelines.png" alt="GPU-driven rendering pipeline" /></p>

<p><strong>What you’ll learn:</strong></p>
<ul>
  <li>Encoding draw commands with <code class="language-plaintext highlighter-rouge">MTLIndirectCommandBuffer</code></li>
  <li>Bindless resource access via argument buffers</li>
  <li>Suballocating buffers and textures from a single <code class="language-plaintext highlighter-rouge">MTLHeap</code></li>
  <li>Running a compute dispatch to cull objects and populate the ICB on the GPU</li>
</ul>

<p><a href="/metal-tutorials/6-gpu-rendering/">Read the tutorial →</a></p>]]></content><author><name></name></author><category term="metal" /><category term="tutorial" /><category term="swift" /><summary type="html"><![CDATA[In every previous tutorial the CPU decides what to draw and when. This one removes the CPU from the render loop entirely. A compute shader reads the scene, culls what’s invisible, and writes draw commands directly into an MTLIndirectCommandBuffer — the GPU issues its own draw calls. This is the architecture behind modern game engines on Apple platforms.]]></summary></entry><entry><title type="html">Metal Tutorial 5 — Tiled Rendering</title><link href="https://fe0437.github.io/metal/tutorial/swift/2024/05/21/metal-tutorial-5.html" rel="alternate" type="text/html" title="Metal Tutorial 5 — Tiled Rendering" /><published>2024-05-21T23:00:00+00:00</published><updated>2024-05-21T23:00:00+00:00</updated><id>https://fe0437.github.io/metal/tutorial/swift/2024/05/21/metal-tutorial-5</id><content type="html" xml:base="https://fe0437.github.io/metal/tutorial/swift/2024/05/21/metal-tutorial-5.html"><![CDATA[<p>Every Apple GPU is a tile-based deferred renderer (TBDR). Instead of writing intermediate results to DRAM and reading them back, the GPU processes each screen tile entirely in fast on-chip memory. This tutorial exploits that architecture with memoryless textures and tile shaders — eliminating the G-buffer bandwidth cost that conventional deferred rendering pays on every frame.</p>

<svg viewBox="0 0 520 148" xmlns="http://www.w3.org/2000/svg" style="width:100%;max-width:520px;display:block;margin:1.2rem 0;border-radius:10px">
  <rect width="520" height="148" rx="10" fill="#f0f4f8" />
  <!-- screen tiles -->
  <text x="16" y="20" font-family="system-ui" font-size="10" fill="#666">Screen tiles</text>
  <rect x="14" y="28" width="200" height="108" rx="6" fill="#dce8f5" stroke="#b0c8e8" stroke-width="1" />
  <!-- 3x3 tile grid -->
  <rect x="22" y="36" width="56" height="44" rx="4" fill="#7090b8" opacity="0.85" />
  <rect x="84" y="36" width="56" height="44" rx="4" fill="#7090b8" opacity="0.6" />
  <rect x="146" y="36" width="56" height="44" rx="4" fill="#7090b8" opacity="0.4" />
  <rect x="22" y="86" width="56" height="44" rx="4" fill="#7090b8" opacity="0.4" />
  <rect x="84" y="86" width="56" height="44" rx="4" fill="#7090b8" opacity="0.85" />
  <rect x="146" y="86" width="56" height="44" rx="4" fill="#7090b8" opacity="0.6" />
  <text x="50" y="62" font-family="monospace" font-size="9" fill="white" text-anchor="middle">tile</text>
  <text x="112" y="62" font-family="monospace" font-size="9" fill="white" text-anchor="middle">tile</text>
  <text x="174" y="62" font-family="monospace" font-size="9" fill="white" text-anchor="middle">tile</text>
  <text x="50" y="112" font-family="monospace" font-size="9" fill="white" text-anchor="middle">tile</text>
  <text x="112" y="112" font-family="monospace" font-size="9" fill="white" text-anchor="middle">tile</text>
  <text x="174" y="112" font-family="monospace" font-size="9" fill="white" text-anchor="middle">tile</text>
  <!-- arrow -->
  <line x1="220" y1="82" x2="250" y2="82" stroke="#5DCAA5" stroke-width="2" />
  <polygon points="250,78 258,82 250,86" fill="#5DCAA5" />
  <text x="234" y="76" font-family="system-ui" font-size="8" fill="#5DCAA5" text-anchor="middle">on-chip</text>
  <!-- on-chip memory box -->
  <rect x="262" y="36" width="120" height="92" rx="8" fill="#eaf3de" stroke="#5DCAA5" stroke-width="1.5" />
  <text x="322" y="56" font-family="system-ui" font-size="10" fill="#0F6E56" text-anchor="middle" font-weight="bold">On-chip</text>
  <text x="322" y="70" font-family="system-ui" font-size="10" fill="#0F6E56" text-anchor="middle" font-weight="bold">memory</text>
  <text x="322" y="92" font-family="monospace" font-size="9" fill="#336" text-anchor="middle">geometry</text>
  <text x="322" y="106" font-family="monospace" font-size="9" fill="#336" text-anchor="middle">lighting</text>
  <text x="322" y="120" font-family="monospace" font-size="9" fill="#5DCAA5" text-anchor="middle">no DRAM round-trip</text>
  <!-- cross-out DRAM -->
  <rect x="400" y="54" width="104" height="56" rx="6" fill="#FCEBEB" stroke="#c03020" stroke-width="1" stroke-dasharray="4,3" />
  <text x="452" y="76" font-family="system-ui" font-size="10" fill="#c03020" text-anchor="middle">DRAM</text>
  <text x="452" y="92" font-family="system-ui" font-size="9" fill="#c03020" text-anchor="middle">G-buffer</text>
  <line x1="400" y1="54" x2="504" y2="110" stroke="#c03020" stroke-width="1.5" />
  <line x1="504" y1="54" x2="400" y2="110" stroke="#c03020" stroke-width="1.5" />
  <!-- caption -->
  <text x="260" y="141" font-family="system-ui" font-size="9" fill="#999" text-anchor="middle">Each tile's G-buffer lives on-chip — never touches DRAM</text>
</svg>

<p><strong>What you’ll learn:</strong></p>
<ul>
  <li>How Apple’s TBDR architecture differs from immediate-mode GPUs</li>
  <li>Declaring G-buffer textures as memoryless to keep them on-chip</li>
  <li>Writing tile shaders that run between render passes within a tile</li>
  <li>Using <code class="language-plaintext highlighter-rouge">.dontCare</code> load/store actions to eliminate unnecessary memory traffic</li>
</ul>

<p><a href="/metal-tutorials/5-tiled-rendering/">Read the tutorial →</a></p>]]></content><author><name></name></author><category term="metal" /><category term="tutorial" /><category term="swift" /><summary type="html"><![CDATA[Every Apple GPU is a tile-based deferred renderer (TBDR). Instead of writing intermediate results to DRAM and reading them back, the GPU processes each screen tile entirely in fast on-chip memory. This tutorial exploits that architecture with memoryless textures and tile shaders — eliminating the G-buffer bandwidth cost that conventional deferred rendering pays on every frame.]]></summary></entry><entry><title type="html">Metal Tutorial 4 — Shadows</title><link href="https://fe0437.github.io/metal/tutorial/swift/2024/05/07/metal-tutorial-4.html" rel="alternate" type="text/html" title="Metal Tutorial 4 — Shadows" /><published>2024-05-07T23:00:00+00:00</published><updated>2024-05-07T23:00:00+00:00</updated><id>https://fe0437.github.io/metal/tutorial/swift/2024/05/07/metal-tutorial-4</id><content type="html" xml:base="https://fe0437.github.io/metal/tutorial/swift/2024/05/07/metal-tutorial-4.html"><![CDATA[<p>Shadows are what make objects feel grounded in a scene. This tutorial implements shadow mapping: a depth-only first pass from the light’s perspective builds the shadow map, and the deferred lighting pass compares each fragment’s light-space depth against it to decide lit vs. shadowed.</p>

<video autoplay="" loop="" muted="" playsinline="" style="width:100%;border-radius:8px;margin:1.2rem 0;display:block">
  <source src="/assets/videos/metal-tutorials/4-shadow-mapping.webm" type="video/webm" />
</video>

<p><img src="/assets/images/metal-tutorials/4-passes.png" alt="Shadow pass and final result" /></p>

<p><strong>What you’ll learn:</strong></p>
<ul>
  <li>Rendering a depth-only pass into an <code class="language-plaintext highlighter-rouge">MTLTexture</code> shadow map</li>
  <li>Transforming fragments to light space for depth comparison</li>
  <li>Shadow bias to avoid self-shadowing artifacts</li>
  <li>Percentage-closer filtering (PCF) for soft shadow edges</li>
</ul>

<p><a href="/metal-tutorials/4-shadows/">Read the tutorial →</a></p>]]></content><author><name></name></author><category term="metal" /><category term="tutorial" /><category term="swift" /><summary type="html"><![CDATA[Shadows are what make objects feel grounded in a scene. This tutorial implements shadow mapping: a depth-only first pass from the light’s perspective builds the shadow map, and the deferred lighting pass compares each fragment’s light-space depth against it to decide lit vs. shadowed.]]></summary></entry><entry><title type="html">Metal Tutorial 3 — Deferred Rendering</title><link href="https://fe0437.github.io/metal/tutorial/swift/2024/04/23/metal-tutorial-3.html" rel="alternate" type="text/html" title="Metal Tutorial 3 — Deferred Rendering" /><published>2024-04-23T23:00:00+00:00</published><updated>2024-04-23T23:00:00+00:00</updated><id>https://fe0437.github.io/metal/tutorial/swift/2024/04/23/metal-tutorial-3</id><content type="html" xml:base="https://fe0437.github.io/metal/tutorial/swift/2024/04/23/metal-tutorial-3.html"><![CDATA[<p>Forward rendering shades every fragment for every light — which blows up fast. Deferred rendering solves this by splitting the work into two passes: first write geometry data into a G-buffer, then run a single full-screen lighting pass that reads from it. The result is a scene that can support many lights without the cost growing with geometry complexity.</p>

<p><img src="/assets/images/metal-tutorials/3-deferred-rendering.png" alt="Deferred rendering G-buffer and result" /></p>

<p><strong>What you’ll learn:</strong></p>
<ul>
  <li>Writing to multiple render targets (MRT) in a single pass</li>
  <li>Structuring a G-buffer with position, normal, and albedo textures</li>
  <li>Reading G-buffer textures in a full-screen lighting pass</li>
  <li>How <code class="language-plaintext highlighter-rouge">MTLRenderPassDescriptor</code> load/store actions control memory usage</li>
</ul>

<p><a href="/metal-tutorials/3-deferred-rendering/">Read the tutorial →</a></p>]]></content><author><name></name></author><category term="metal" /><category term="tutorial" /><category term="swift" /><summary type="html"><![CDATA[Forward rendering shades every fragment for every light — which blows up fast. Deferred rendering solves this by splitting the work into two passes: first write geometry data into a G-buffer, then run a single full-screen lighting pass that reads from it. The result is a scene that can support many lights without the cost growing with geometry complexity.]]></summary></entry><entry><title type="html">Metal Tutorial 2 — Sample Object</title><link href="https://fe0437.github.io/metal/tutorial/swift/2024/04/09/metal-tutorial-2.html" rel="alternate" type="text/html" title="Metal Tutorial 2 — Sample Object" /><published>2024-04-09T23:00:00+00:00</published><updated>2024-04-09T23:00:00+00:00</updated><id>https://fe0437.github.io/metal/tutorial/swift/2024/04/09/metal-tutorial-2</id><content type="html" xml:base="https://fe0437.github.io/metal/tutorial/swift/2024/04/09/metal-tutorial-2.html"><![CDATA[<p>A hard-coded triangle only gets you so far. This tutorial loads a real 3D mesh from disk using Model I/O, introduces <code class="language-plaintext highlighter-rouge">MTLBuffer</code> for per-frame uniform data, and enables depth testing so that geometry sorts correctly regardless of draw order.</p>

<video autoplay="" loop="" muted="" playsinline="" style="width:100%;border-radius:8px;margin:1.2rem 0;display:block">
  <source src="/assets/videos/metal-tutorials/2-sample-object.webm" type="video/webm" />
</video>

<p><strong>What you’ll learn:</strong></p>
<ul>
  <li>Loading <code class="language-plaintext highlighter-rouge">.obj</code> geometry with <code class="language-plaintext highlighter-rouge">MDLAsset</code> and <code class="language-plaintext highlighter-rouge">MTKMesh</code></li>
  <li>Passing per-frame uniforms (model/view/projection matrices) via <code class="language-plaintext highlighter-rouge">MTLBuffer</code></li>
  <li>Setting up <code class="language-plaintext highlighter-rouge">MTLDepthStencilState</code> so nearer fragments win</li>
  <li>Vertex descriptors and how Metal maps buffer layout to shader inputs</li>
</ul>

<p><a href="/metal-tutorials/2-sample-object/">Read the tutorial →</a></p>]]></content><author><name></name></author><category term="metal" /><category term="tutorial" /><category term="swift" /><summary type="html"><![CDATA[A hard-coded triangle only gets you so far. This tutorial loads a real 3D mesh from disk using Model I/O, introduces MTLBuffer for per-frame uniform data, and enables depth testing so that geometry sorts correctly regardless of draw order.]]></summary></entry><entry><title type="html">Metal Tutorial 1 — Hello Triangle</title><link href="https://fe0437.github.io/metal/tutorial/swift/2024/03/26/metal-tutorial-1.html" rel="alternate" type="text/html" title="Metal Tutorial 1 — Hello Triangle" /><published>2024-03-26T18:04:14+00:00</published><updated>2024-03-26T18:04:14+00:00</updated><id>https://fe0437.github.io/metal/tutorial/swift/2024/03/26/metal-tutorial-1</id><content type="html" xml:base="https://fe0437.github.io/metal/tutorial/swift/2024/03/26/metal-tutorial-1.html"><![CDATA[<p>A colored triangle is the “hello world” of GPU programming — deceptively simple on screen, but wiring it up teaches you the full Metal pipeline end-to-end. By the time you’re done you’ll have written your first MSL shaders, compiled a render pipeline, encoded a draw call, and presented a frame.</p>

<p><img src="/assets/images/metal-tutorials/1-triangle.png" alt="Triangle rendered with Metal" /></p>

<p><strong>What you’ll learn:</strong></p>
<ul>
  <li>How <code class="language-plaintext highlighter-rouge">MTLRenderPipelineState</code> ties a vertex and fragment shader together</li>
  <li>Encoding draw calls with <code class="language-plaintext highlighter-rouge">MTLRenderCommandEncoder</code></li>
  <li>Writing vertex and fragment shaders in Metal Shading Language (MSL)</li>
  <li>Memory layout gotchas with <code class="language-plaintext highlighter-rouge">vector_float2</code> / <code class="language-plaintext highlighter-rouge">vector_float4</code> and GPU alignment</li>
</ul>

<p><a href="/metal-tutorials/1-hello/">Read the tutorial →</a></p>]]></content><author><name></name></author><category term="metal" /><category term="tutorial" /><category term="swift" /><summary type="html"><![CDATA[A colored triangle is the “hello world” of GPU programming — deceptively simple on screen, but wiring it up teaches you the full Metal pipeline end-to-end. By the time you’re done you’ll have written your first MSL shaders, compiled a render pipeline, encoded a draw call, and presented a frame.]]></summary></entry><entry><title type="html">Metal Tutorial 0 — Preparation</title><link href="https://fe0437.github.io/metal/tutorial/swift/2024/02/29/metal-tutorial-0.html" rel="alternate" type="text/html" title="Metal Tutorial 0 — Preparation" /><published>2024-02-29T23:00:00+00:00</published><updated>2024-02-29T23:00:00+00:00</updated><id>https://fe0437.github.io/metal/tutorial/swift/2024/02/29/metal-tutorial-0</id><content type="html" xml:base="https://fe0437.github.io/metal/tutorial/swift/2024/02/29/metal-tutorial-0.html"><![CDATA[<p>Metal doesn’t hide the GPU from you — it gives you direct access to it. Before writing a single shader, this tutorial builds the mental model you’ll rely on throughout the series: how GPU objects relate, what the render loop actually does each frame, and which setup work belongs in <code class="language-plaintext highlighter-rouge">init</code> vs. <code class="language-plaintext highlighter-rouge">draw</code>.</p>

<svg viewBox="0 0 520 148" xmlns="http://www.w3.org/2000/svg" style="width:100%;max-width:520px;display:block;margin:1.2rem 0;border-radius:10px">
  <rect width="520" height="148" rx="10" fill="#f5f2fc" />
  <!-- MTLDevice -->
  <rect x="195" y="12" width="130" height="30" rx="7" fill="#7b68c8" />
  <text x="260" y="31" font-family="monospace" font-size="12" fill="white" text-anchor="middle" font-weight="bold">MTLDevice</text>
  <!-- trunk line down -->
  <line x1="260" y1="42" x2="260" y2="56" stroke="#b0a8e0" stroke-width="1.5" />
  <!-- horizontal bar -->
  <line x1="60" y1="56" x2="460" y2="56" stroke="#b0a8e0" stroke-width="1.5" />
  <!-- drops -->
  <line x1="60" y1="56" x2="60" y2="68" stroke="#b0a8e0" stroke-width="1.5" />
  <line x1="185" y1="56" x2="185" y2="68" stroke="#b0a8e0" stroke-width="1.5" />
  <line x1="310" y1="56" x2="310" y2="68" stroke="#b0a8e0" stroke-width="1.5" />
  <line x1="430" y1="56" x2="430" y2="68" stroke="#b0a8e0" stroke-width="1.5" />
  <!-- Row 2 boxes -->
  <rect x="10" y="68" width="100" height="28" rx="6" fill="#5DCAA5" />
  <text x="60" y="86" font-family="monospace" font-size="10" fill="white" text-anchor="middle">CommandQueue</text>
  <rect x="130" y="68" width="110" height="28" rx="6" fill="#7090b8" />
  <text x="185" y="86" font-family="monospace" font-size="10" fill="white" text-anchor="middle">PipelineState</text>
  <rect x="260" y="68" width="100" height="28" rx="6" fill="#7090b8" />
  <text x="310" y="86" font-family="monospace" font-size="10" fill="white" text-anchor="middle">MTLBuffer</text>
  <rect x="380" y="68" width="100" height="28" rx="6" fill="#7090b8" />
  <text x="430" y="86" font-family="monospace" font-size="10" fill="white" text-anchor="middle">MTLTexture</text>
  <!-- CommandBuffer under CommandQueue -->
  <line x1="60" y1="96" x2="60" y2="108" stroke="#5DCAA5" stroke-width="1.5" />
  <rect x="10" y="108" width="100" height="28" rx="6" fill="#4aaa8a" />
  <text x="60" y="126" font-family="monospace" font-size="10" fill="white" text-anchor="middle">CommandBuffer</text>
  <!-- caption -->
  <text x="300" y="138" font-family="system-ui" font-size="9" fill="#999" text-anchor="middle">MTLDevice is the GPU — it creates every other object</text>
</svg>

<p><strong>What you’ll learn:</strong></p>
<ul>
  <li>The MTLDevice → MTLCommandQueue → MTLCommandBuffer ownership chain</li>
  <li>How <code class="language-plaintext highlighter-rouge">UIViewRepresentable</code> wires up <code class="language-plaintext highlighter-rouge">MTKView</code> and <code class="language-plaintext highlighter-rouge">MTKViewDelegate</code></li>
  <li>Coordinate spaces from model space through NDC to screen pixels</li>
  <li>Which objects pay a one-time creation cost vs. which are created per frame</li>
</ul>

<p><a href="/metal-tutorials/0-preparation/">Start here →</a></p>]]></content><author><name></name></author><category term="metal" /><category term="tutorial" /><category term="swift" /><summary type="html"><![CDATA[Metal doesn’t hide the GPU from you — it gives you direct access to it. Before writing a single shader, this tutorial builds the mental model you’ll rely on throughout the series: how GPU objects relate, what the render loop actually does each frame, and which setup work belongs in init vs. draw.]]></summary></entry></feed>